It’s pretty common knowledge that solar power is a great way to reduce your electric bill and be environmentally friendly by using sunlight. If you are considering installing solar panels in your home, you have probably heard about many issues that make it seem pretty tricky and complicated. Whatever you do, do not go about putting solar panels on your own house. This is a task best left to the professionals. There is time and planning involved before you even get to the installation process, but once you are through it, you have both electricity and peace of mind that you helped cut down your energy bill by using your smarts.
So let’s dive right in and discuss everything you should watch out for!
5 Steps to a Successful Solar Power System Installation
Installing solar panels is easy—given that you have a trained professional doing the work. Here’s what it entails:
Step 1: Determine the Size of the Solar System You Will Need, and What Equipment to Use
The first step of installing a solar system is determining how many panels you need, what panels and inverters to use, and whether it will be a grid-tied or off-grid system.
Your home’s energy can vary greatly depending on the climate, the number of occupants, and the season. You should also consider how much energy you want to produce when determining the size of your solar panel system.
For example, if you have a small house with no heating or cooling requirements and live in a mild climate, then a smaller 2 to 3 KW system may be all that is needed to power all the basic appliances. If you plan to use electric appliances like refrigerators and washers or dryers instead of gas appliances, then a 4 to 6 kW would be ideal for most homes. If your house has air conditioning and heating requirements during summer, then a 7 to 10 kW would be more appropriate. If you have a swimming pool and also plan to charge an electric vehicle, or two, then you may require up to 12 to 16 kW.
It is also important to keep in mind that making sure that you size your solar system to meet all your needs for today’s usage and into the future is very important. It’s your power plant!
Step 2: Decide Where Your System Will Be Installed

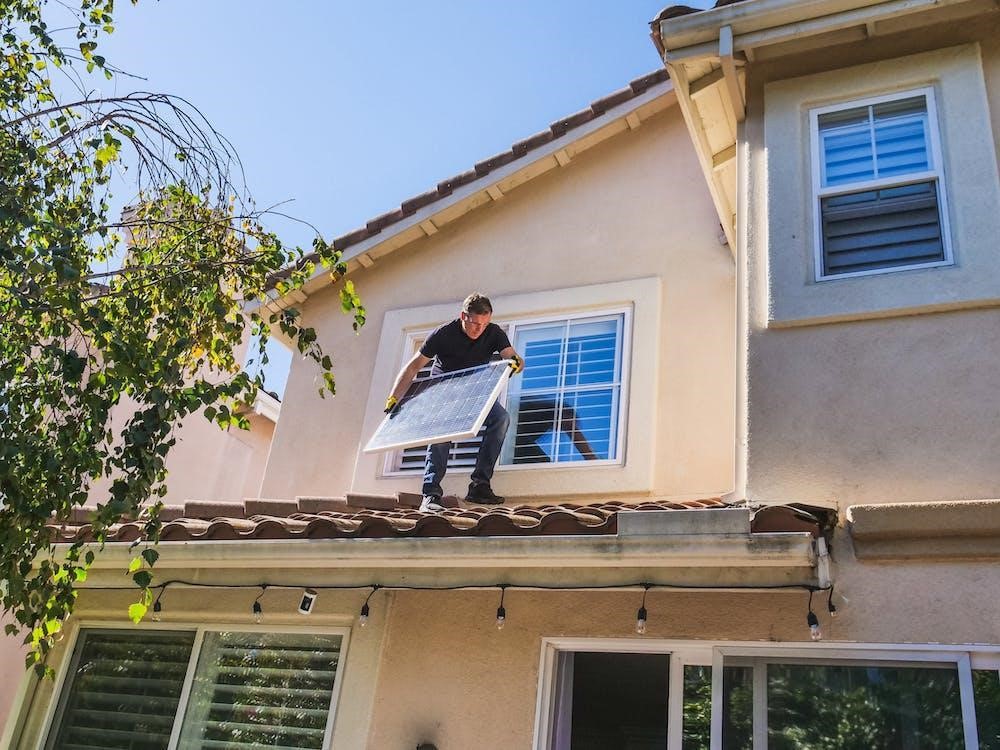
The second step of installing a solar panel system is determining where it will be installed. Solar panels are generally mounted on the roof with their front ideally facing south. However, in many cases, they may also be mounted on the West or East of the roof depending on the exact orientation of the sun throughout the day.
You will also want to become familiar with The TSRF is essentially a measure of the total amount of solar energy that is available for your solar panels to convert into electrical energy. This metric is computed after taking into account the percentage of solar energy available at a site after factoring in shading and how much of this energy will make it to the solar panels depending on their tilt and orientation.
The ideal location for solar panels is on the roof because it allows them to absorb as much sunlight as possible and produce more energy than if they were mounted elsewhere. It also means there is no need for drilling holes in your yard or sidewalk, which creates less mess and reduces maintenance costs.
Step 3: Installing Solar Panels and System Components
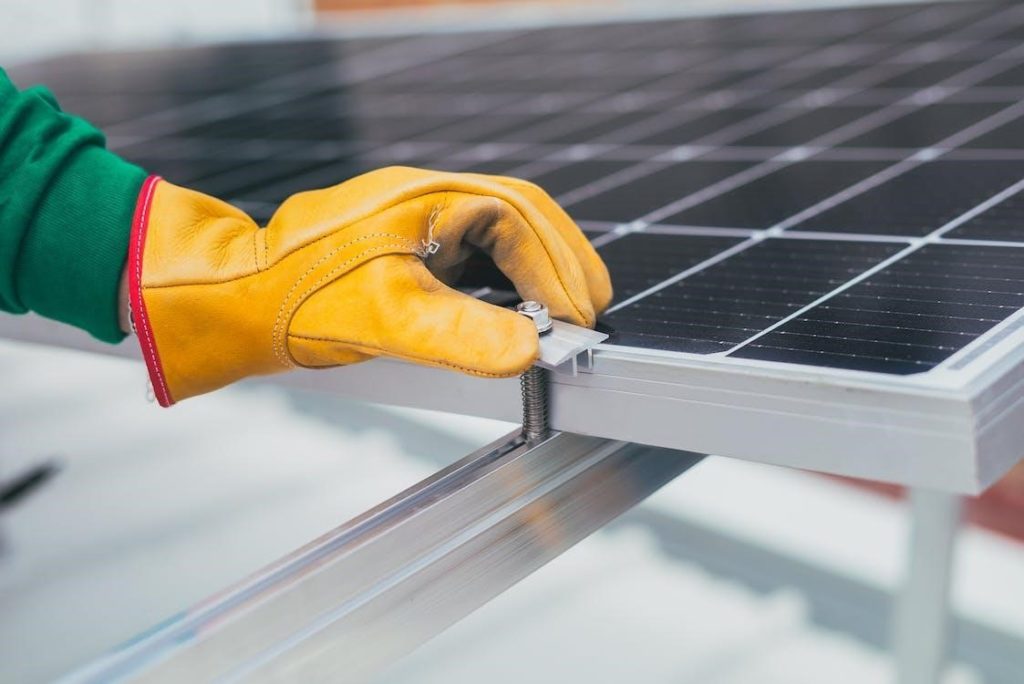
Once you have decided where to install your solar panels, it is time for the professional to begin installing them. The first thing they will do is install mounting brackets on the roof. These mounting brackets are typically made of aluminum or steel and come in different materials and styles. They can be screwed or fit into grooves in your roofing material.
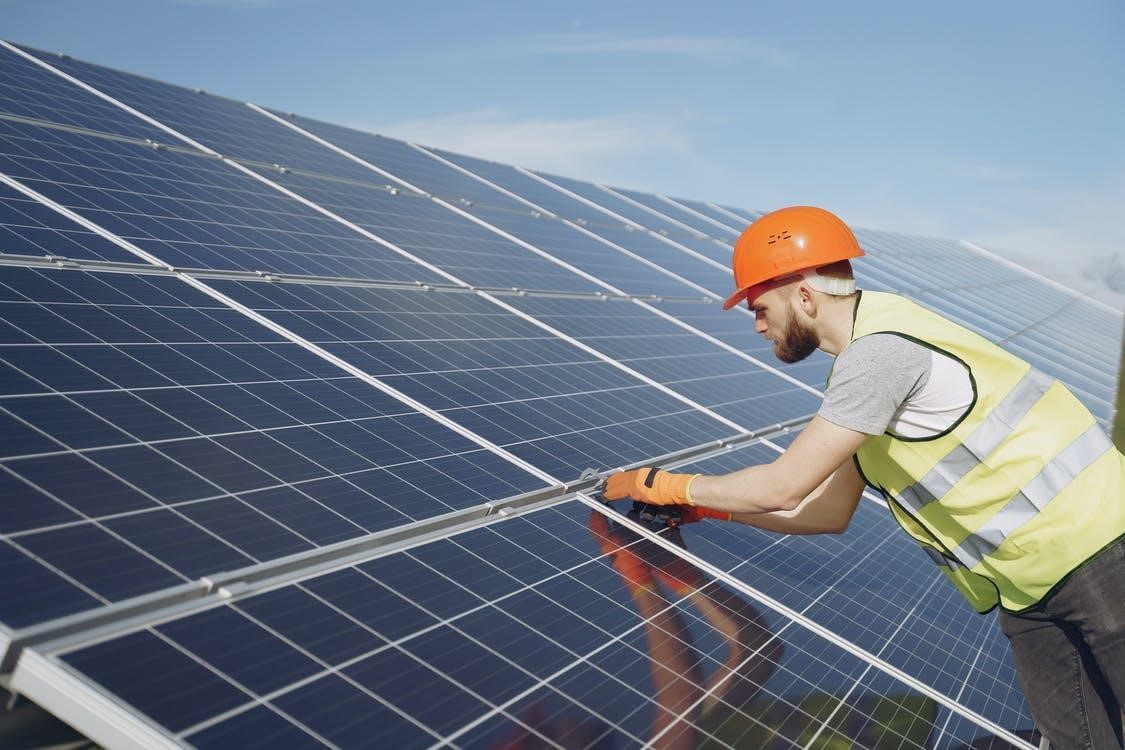
Next, they will attach the solar panels to their mounting brackets and connect them with wires. The wires will carry the electricity produced by the solar panels back into your home through an inverter and then into the electrical grid. The inverter converts direct current (DC) from your solar panels into alternating current (AC) that you can use in your home or sell back to the utility company through net metering programs.
You will also need a professional to install wiring and plumbing to connect your system components and run them into your home. This includes installing junction boxes for connecting wires, conduit pipes for running wires underground, and valves for turning off power if there is an emergency with your system components, such as lightning strikes or flooding.
Step 4: Install a Monitoring Device for Your Solar System
Next, the installation expert may install a monitoring system to track how much energy your solar power system is producing and how much it costs you to produce that energy. This will help you determine whether or not your investment in solar panels is paying off over time and whether or not you should keep them installed in your home for the long term.
A monitoring system can be as simple as an analog meter that records how much electricity your system produces over time and converts it into kilowatt hours (kWh). You can then use this information to determine how much electricity you are using from your utility company versus how much electricity your solar panels are producing. If more electricity is produced than consumed by your home, you know your investment is worth it and will pay off over time.
Step 5: Schedule an Inspection and Enjoy the Savings
Once you get your solar panels in California installed, you should schedule a periodic inspection with the same professional to ensure everything is installed correctly and that the panels are working as intended. This is especially important if you have not had prior experience getting solar panels installed.
Once everything has been installed and inspected, it is time to sit back and enjoy the savings of solar panels on your roof. You can also sell any extra power back to them through net metering agreements with your local utility company, which means that they will buy back any extra electricity produced by your system at the same rate they would pay someone else at a power plant or wind farm for their excess power production.
How Long Does It Take to Install a Solar Panel System?
The installation time for a solar panel system depends on the size of the system. For example, a basic 5-kilowatt (kW) system can be installed very easily on a weekend. However, larger systems may require more time, depending on the specific requirements, such as assuring the leveled-out roof and inspecting the attic for moisture.
It is important to note that the amount of time it takes to install a solar system does not include travel time or other factors that could delay installation.
All in all, the average installation time for a solar panel system is approximately 10 hours per kW, which includes research and shopping time as well as the actual installation. This figure also assumes that your professional has access to all materials needed to complete the job and is not reliant on weather conditions when completing necessary steps such as wiring connections between panels and batteries.
Working With Solar Panels Installation – Common Mistakes to Avoid

If you are considering going solar, it is vital to understand the common problems with solar panel installation and ensure that your hired professional is preventing them.
The Wrong Angle of Solar Panels in California
One of the most common problems with solar panel systems is the incorrect angle placement of the solar panels on your roof. This problem occurs when solar panels are not mounted properly and are placed at an angle that does not allow them to absorb as much sunlight as possible.
If you want your system to function best, have the installation expert ensure that your panels are angled correctly so they catch more sunlight throughout the day. As a rule, the best angle for your solar panels is about 30 degrees off your roof’s plane. For instance, if your roof faces north-south, your panels should face east or west.
Broken or Missing Solar Panel Glass
The next common issue with solar panel systems are broken or missing glass on your panels. This problem occurs when the panel glass cracks or breaks during installation. It can also happen if you do not correctly maintain your system over time. When one or more of your panels’ glass breaks, it can cause damage to other parts of your system and make it less efficient than it should be. In addition, if you have too much-broken glass in your panel, then it may not be able to absorb enough light from the sun to generate the electricity you need for your home.
To prevent this problem, make sure that you take care of all your equipment by getting it cleaned regularly by experts and also ask them to check for any damage. If any are found, replace them immediately so that they do not affect the efficiency of your entire system.
Inefficient Battery Storage
The battery storage system is another common problem with solar panel systems. The battery storage system stores energy collected by your panels during the day so that it can be used at night when there is not enough sunlight available to power your home or business.
If you want to avoid this problem, consult with the experts so they can check that your battery storage system is in fact large enough to store all of the energy generated by your solar panels during the day. This is to ensure that there is no need for an extension cord or other type of supplemental power source at night when there is not enough sunlight available for your needs.
Improper Wiring
In addition to the improper angle of your solar panels in California, improper wiring can also cause problems with your solar panel system. If you are unsure how to wire your system or have never done it before, then it is best to hire someone experienced in this area of work to help you out.
Even though it is not recommended, if you do decide that you want to do it yourself, make sure that you know what each cable does and how it connects with the rest of the system before you begin connecting things. It is essential to use the right kind of wire for the job because if you use too small of a wire or one that is too thin, it could break easily and cause problems with your system down the road.
The Bottom Line
Solar panel installation may seem expensive and complicated, but it has a significant payoff in the long run. Even though you may try to do many things on your own, we can’t advise against this enough. It’s best to consult with a professional and also keep them in the loop after the installation period for maintenance and inspection.
If you have any questions or issues, the Sec. Services team is available to assist you with your Silicon Valley solar panel installation. To schedule an appointment, please call us at 855-888-3993 or contact us here.

Recent Comments